Building with Applet
Applet has a pretty sweet interface that gives you a combination of text prompting, and whiteboard-driven wireframing. 🔥
This article should get you comfy with all the basics so you can start building.
Overview Copied! Link to this section
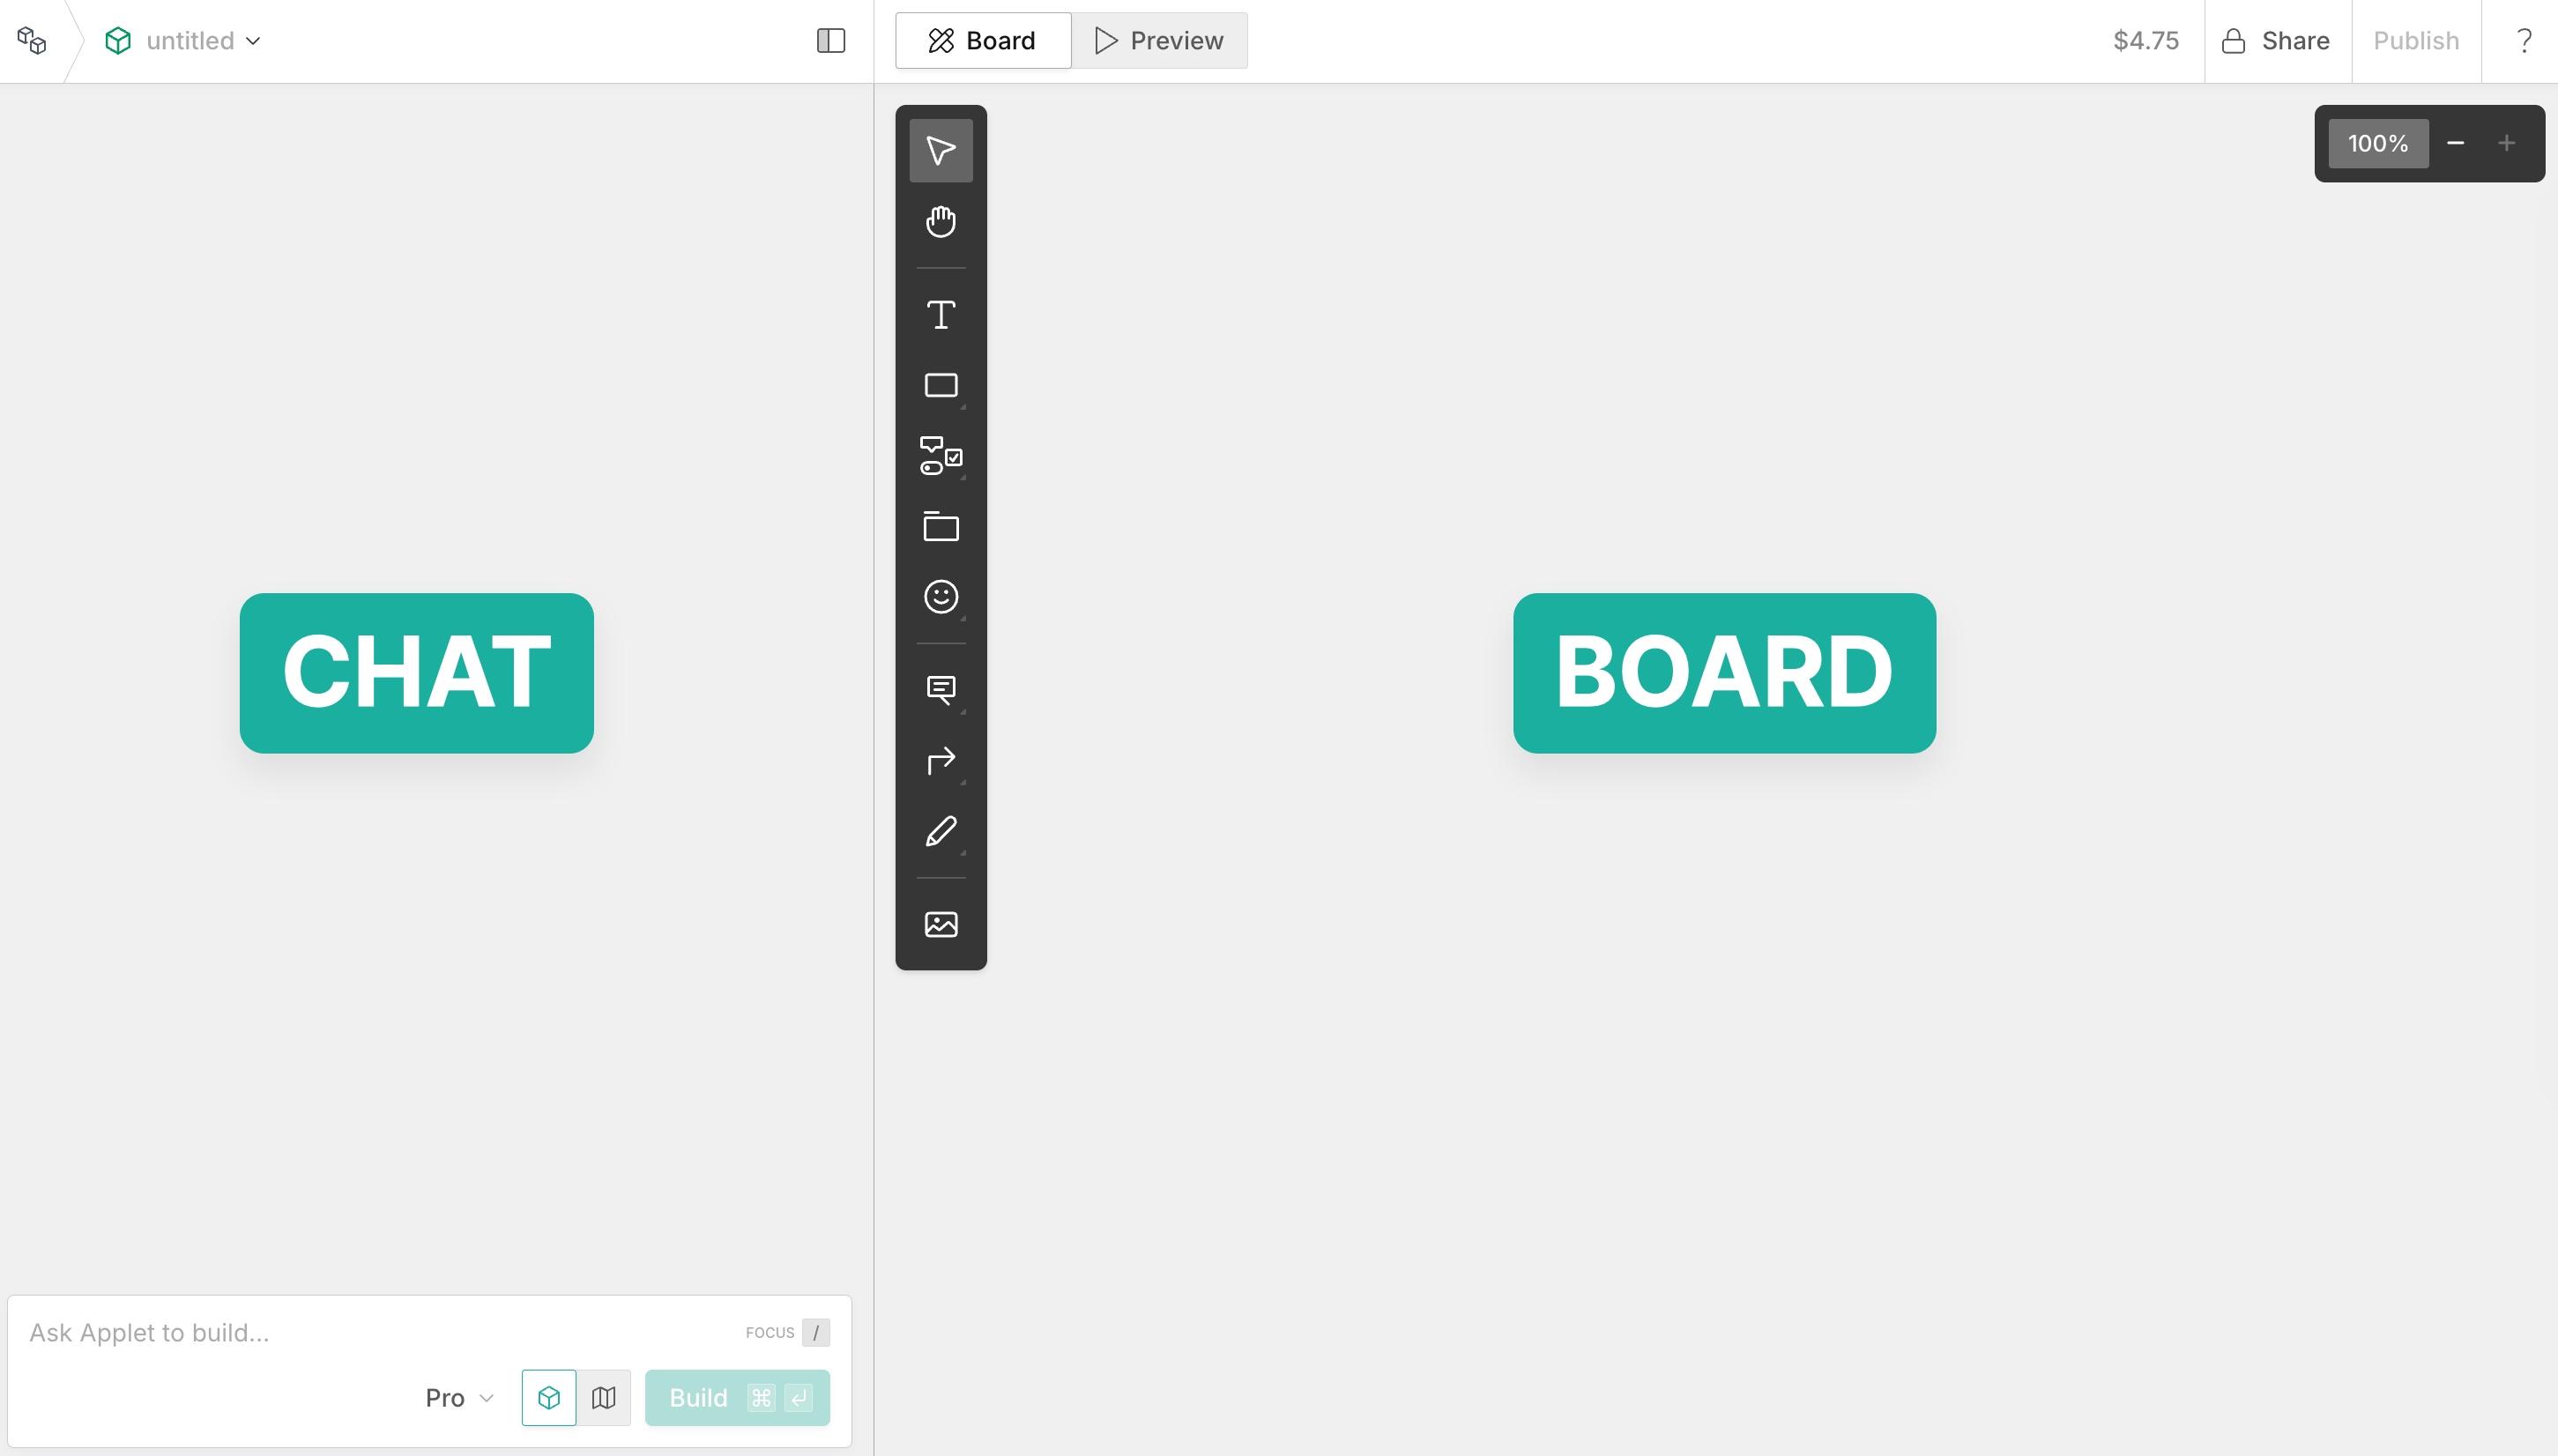
The build page in Applet is split into two areas - Chat on the left, and Board on the right:
You can drag the divider to resize these sections, or hide the chat completely if you're a whiteboard warrior:

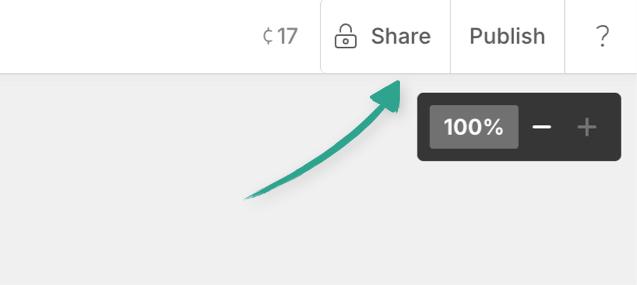
In the header you can share or publish your applet (read more about that here) and as always, get help from the help menu under the question mark:
As soon as you start building an applet, the AI will generate a name for you. These are very descriptive, but not very creative. Please come up with something better before you share your app:

Don't let AI name your app. Seriously.
If you launch a successful product with one of the standard AI generated names I will name my next child after you.
The board Copied! Link to this section
The board is what makes Applet special. We really believe in the power of human creativity, and your ability to craft something unique. While text prompts are great, they're not always the best tool to empower this creativity. So we give you a blank canvas, and a much more suitable set of...
Tools Copied! Link to this section
The toolbar contains everything you need to wireframe and sketch out your ideas, whether you do it directly on the canvas, or take a snapshot of your existing app, and build from there.

Tip:
- This article is just a quick run down to get familiar with the interface - if you're looking for a detailed breakdown of all the tools and options, you'll find that here.
- You can switch on text labels for the toolbar if that helps you remember where all the tools are.
Select Copied! Link to this section
The default mode - allows you to interact with objects already on the canvas to select or move them. Hold Shift to select multiple elements:

Pan mode Copied! Link to this section
Selecting this mode, (or holding down Space) is the easiest way to drag around the canvas itself, when looking for blank space for new ideas:

Text Copied! Link to this section
This is how you add text (no way!) and it’s the first of the options that’ll also bring up the context bar - which lets you resize, recolor and otherwise format the text:

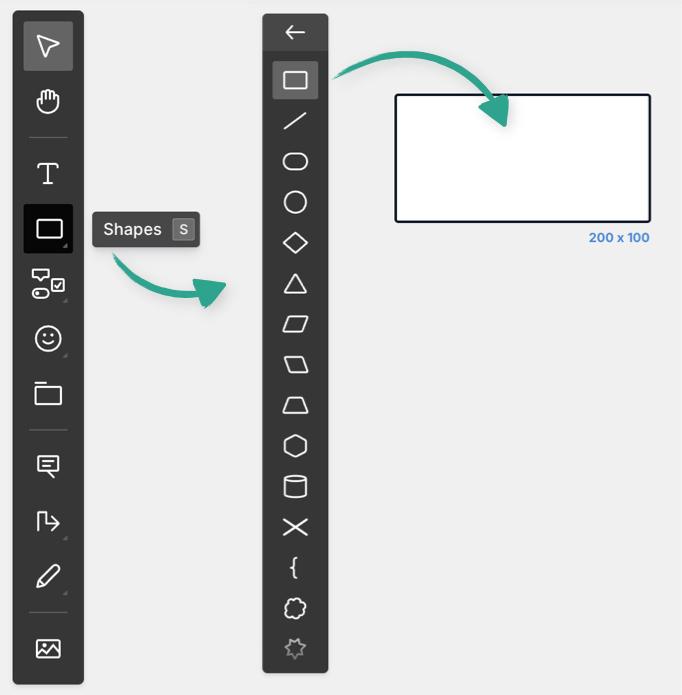
Shapes Copied! Link to this section
These are classic flowchart shapes, perfect for diagramming sitemaps, or logic flows that your applet needs to do - they can also be customized with the context bar:
Components Copied! Link to this section
These are the bones of any wireframe. You’ll find buttons, checkboxes, inputs (like text, or sliders etc), and placeholders for images among others. Depending on which element you’re working with you’ll see further options for customization. Though note, you can always keep components basic and describe your colors and styles in annotations, or in your text prompt:

Icons Copied! Link to this section
A huge icon library perfect for menus, logos, you can search or browse by category etc

Frames Copied! Link to this section
The basic outline for all your elements. Use these to keep things tidy if you’re wireframing multiple pages at once:

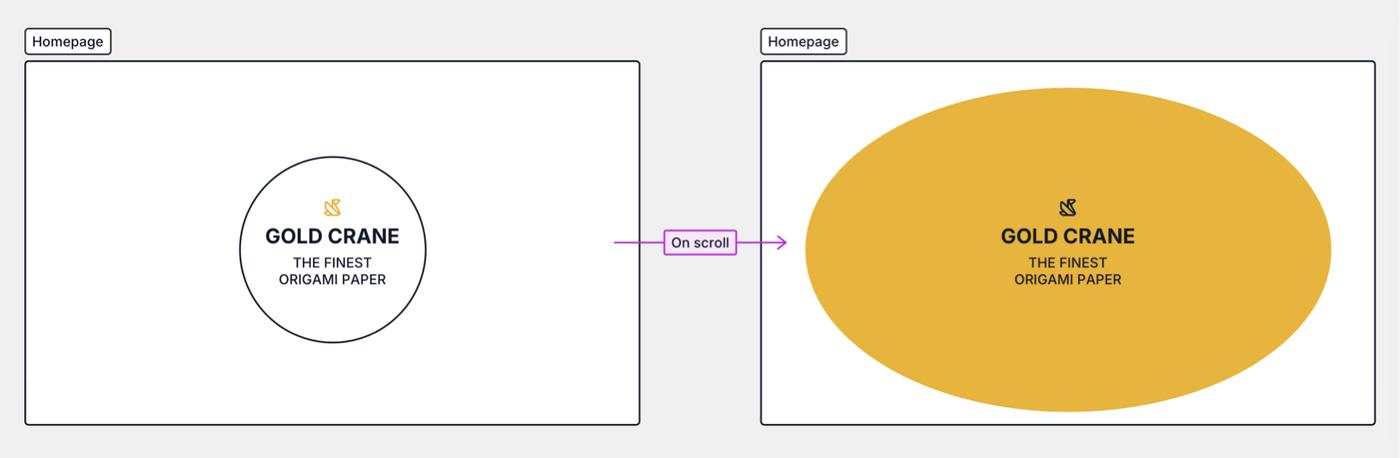
You can also use frames to show different stages in time, or before and after states for interactions:
Annotations Copied! Link to this section
Annotations are like a micro-prompt that lets you point at any specific element or (group of elements) and instruct the AI model what to do with it (like animations, styles or fixes if you’re iterating):

Connectors Copied! Link to this section
Connectors are perfect to connect shapes in user flows, show links between pages in your wireframes, or changes in state like before/after scrolling

You can also just use them as arrows in your designs 😉
Marker Copied! Link to this section
When standard components won’t cut it, you can get creative and draw with the marker (or just go wild with freehand drawing from the start):
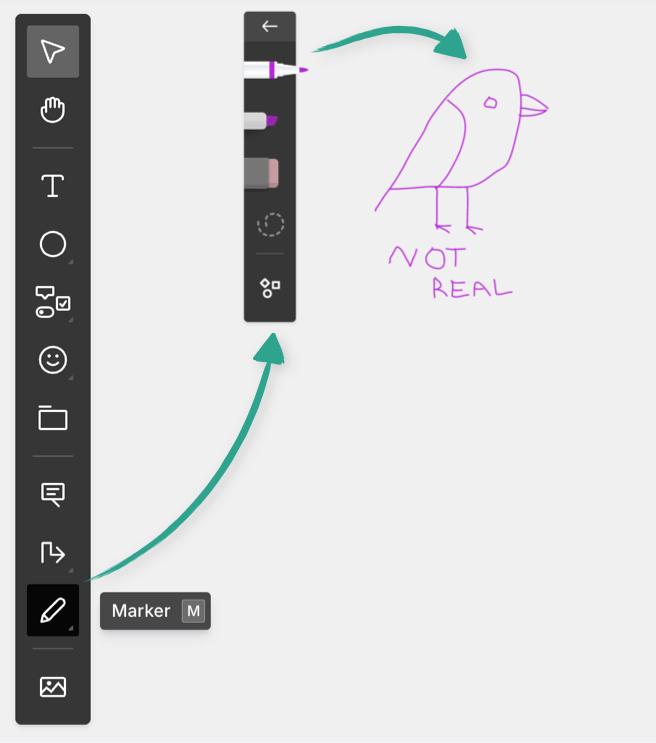
Image Copied! Link to this section
Working with reference images, or specific logos? This is your go-to tool, and lets you add any image anywhere on the canvas.
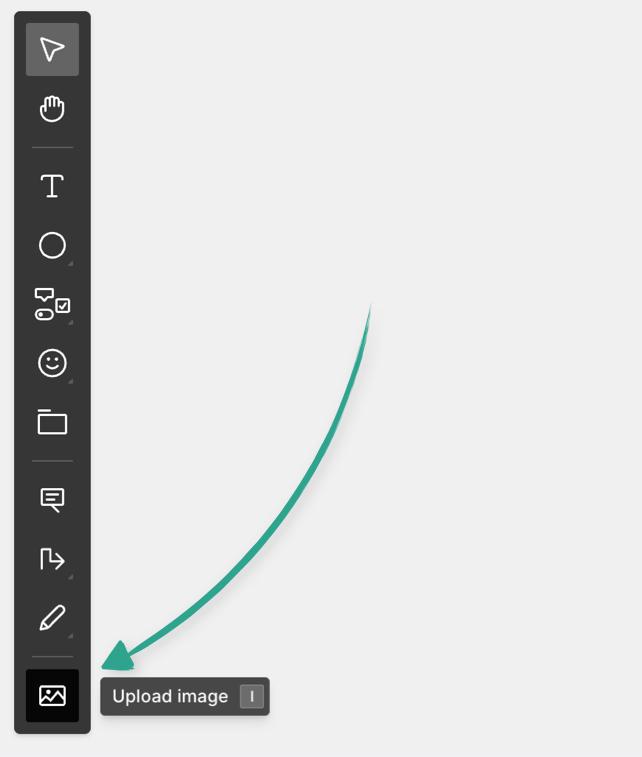
Images sent to Applet this way are directly available in your builds, so it's great for including specific assets.
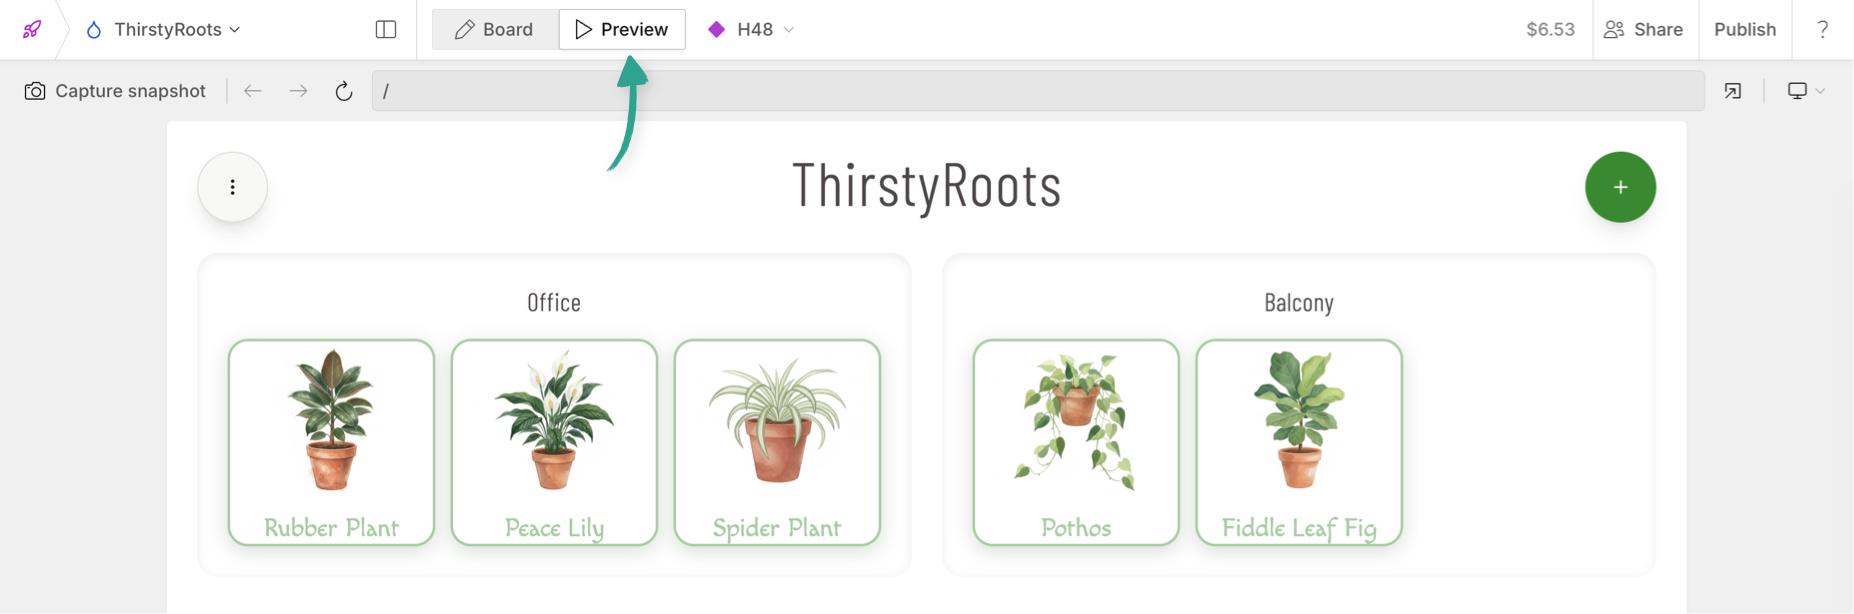
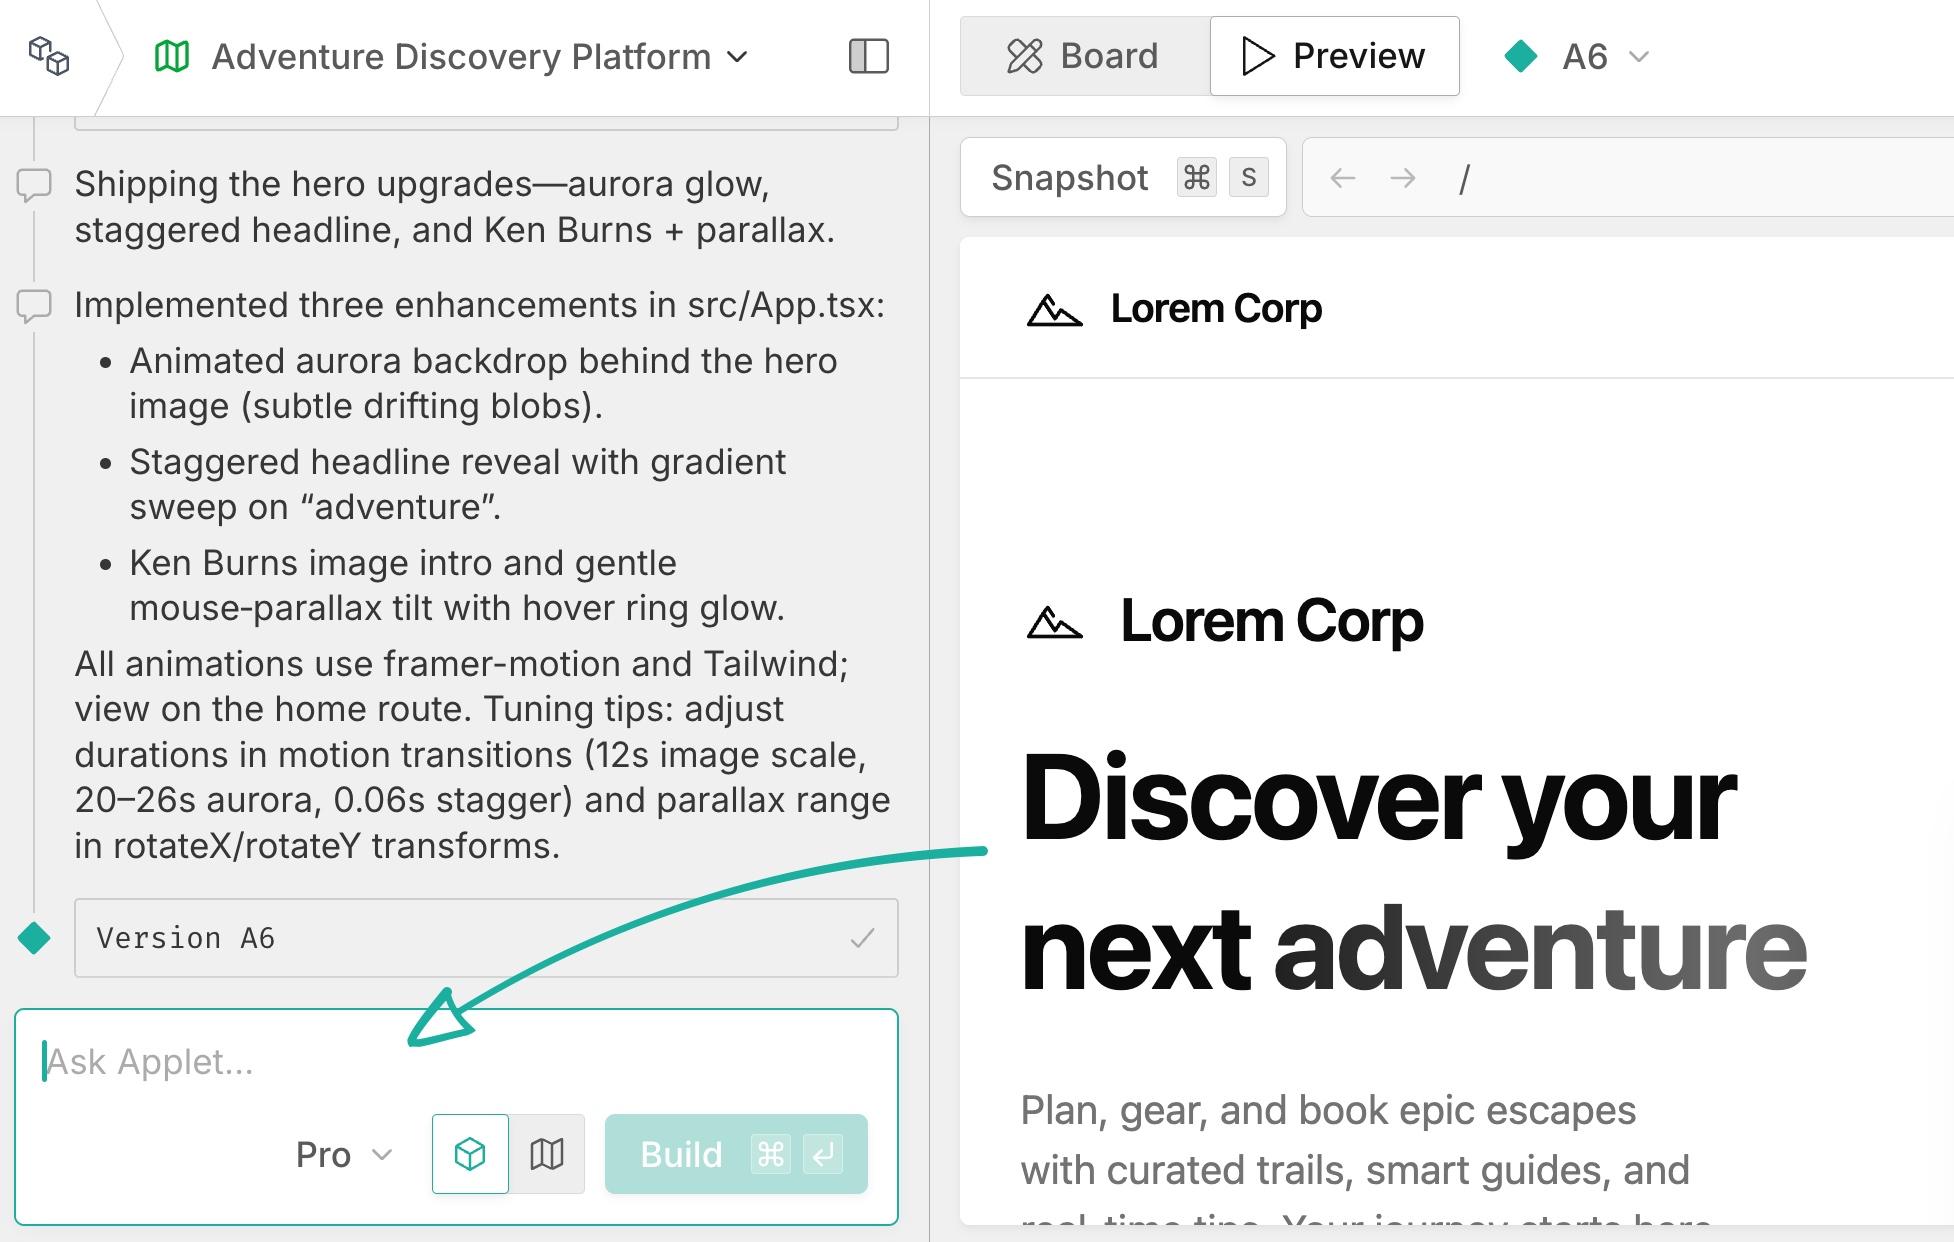
Preview Copied! Link to this section
As Applet completes new versions of your build, you'll see a live preview in place of the board - you can always switch between the preview and the board itself with these buttons:
You can also open the preview in full screen with this one:

Note: If you have the preview open in a new tab, it will not automatically update with future versions. You're previewing that specific version of your applet.
Or capture a snapshot of the preview:
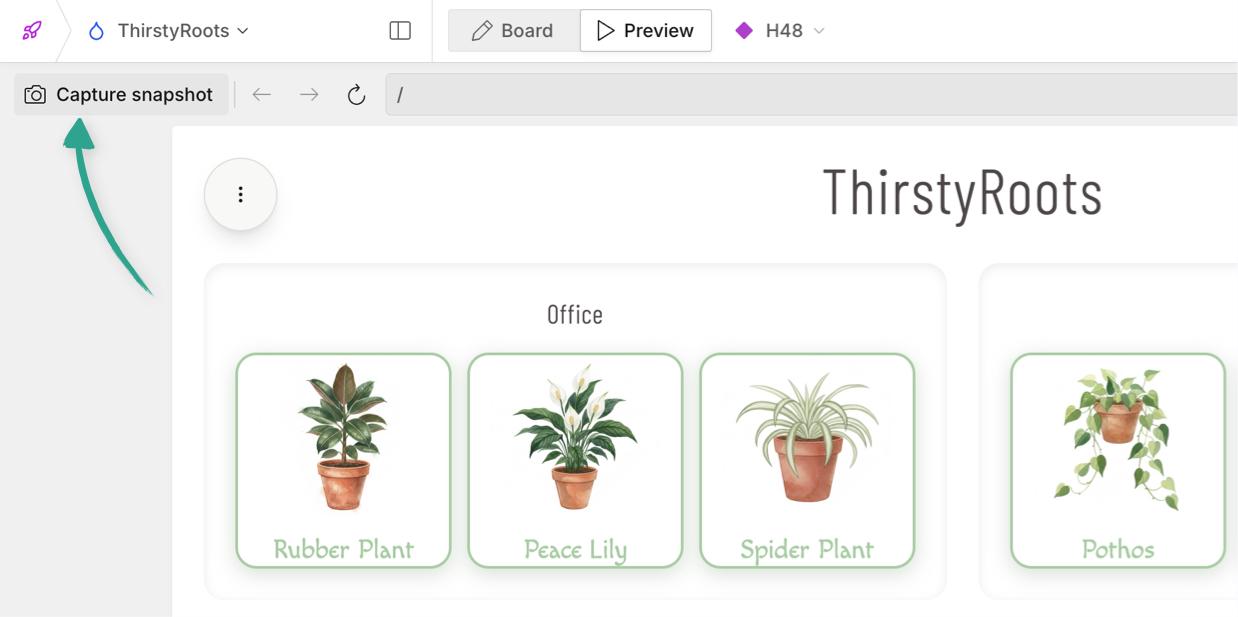
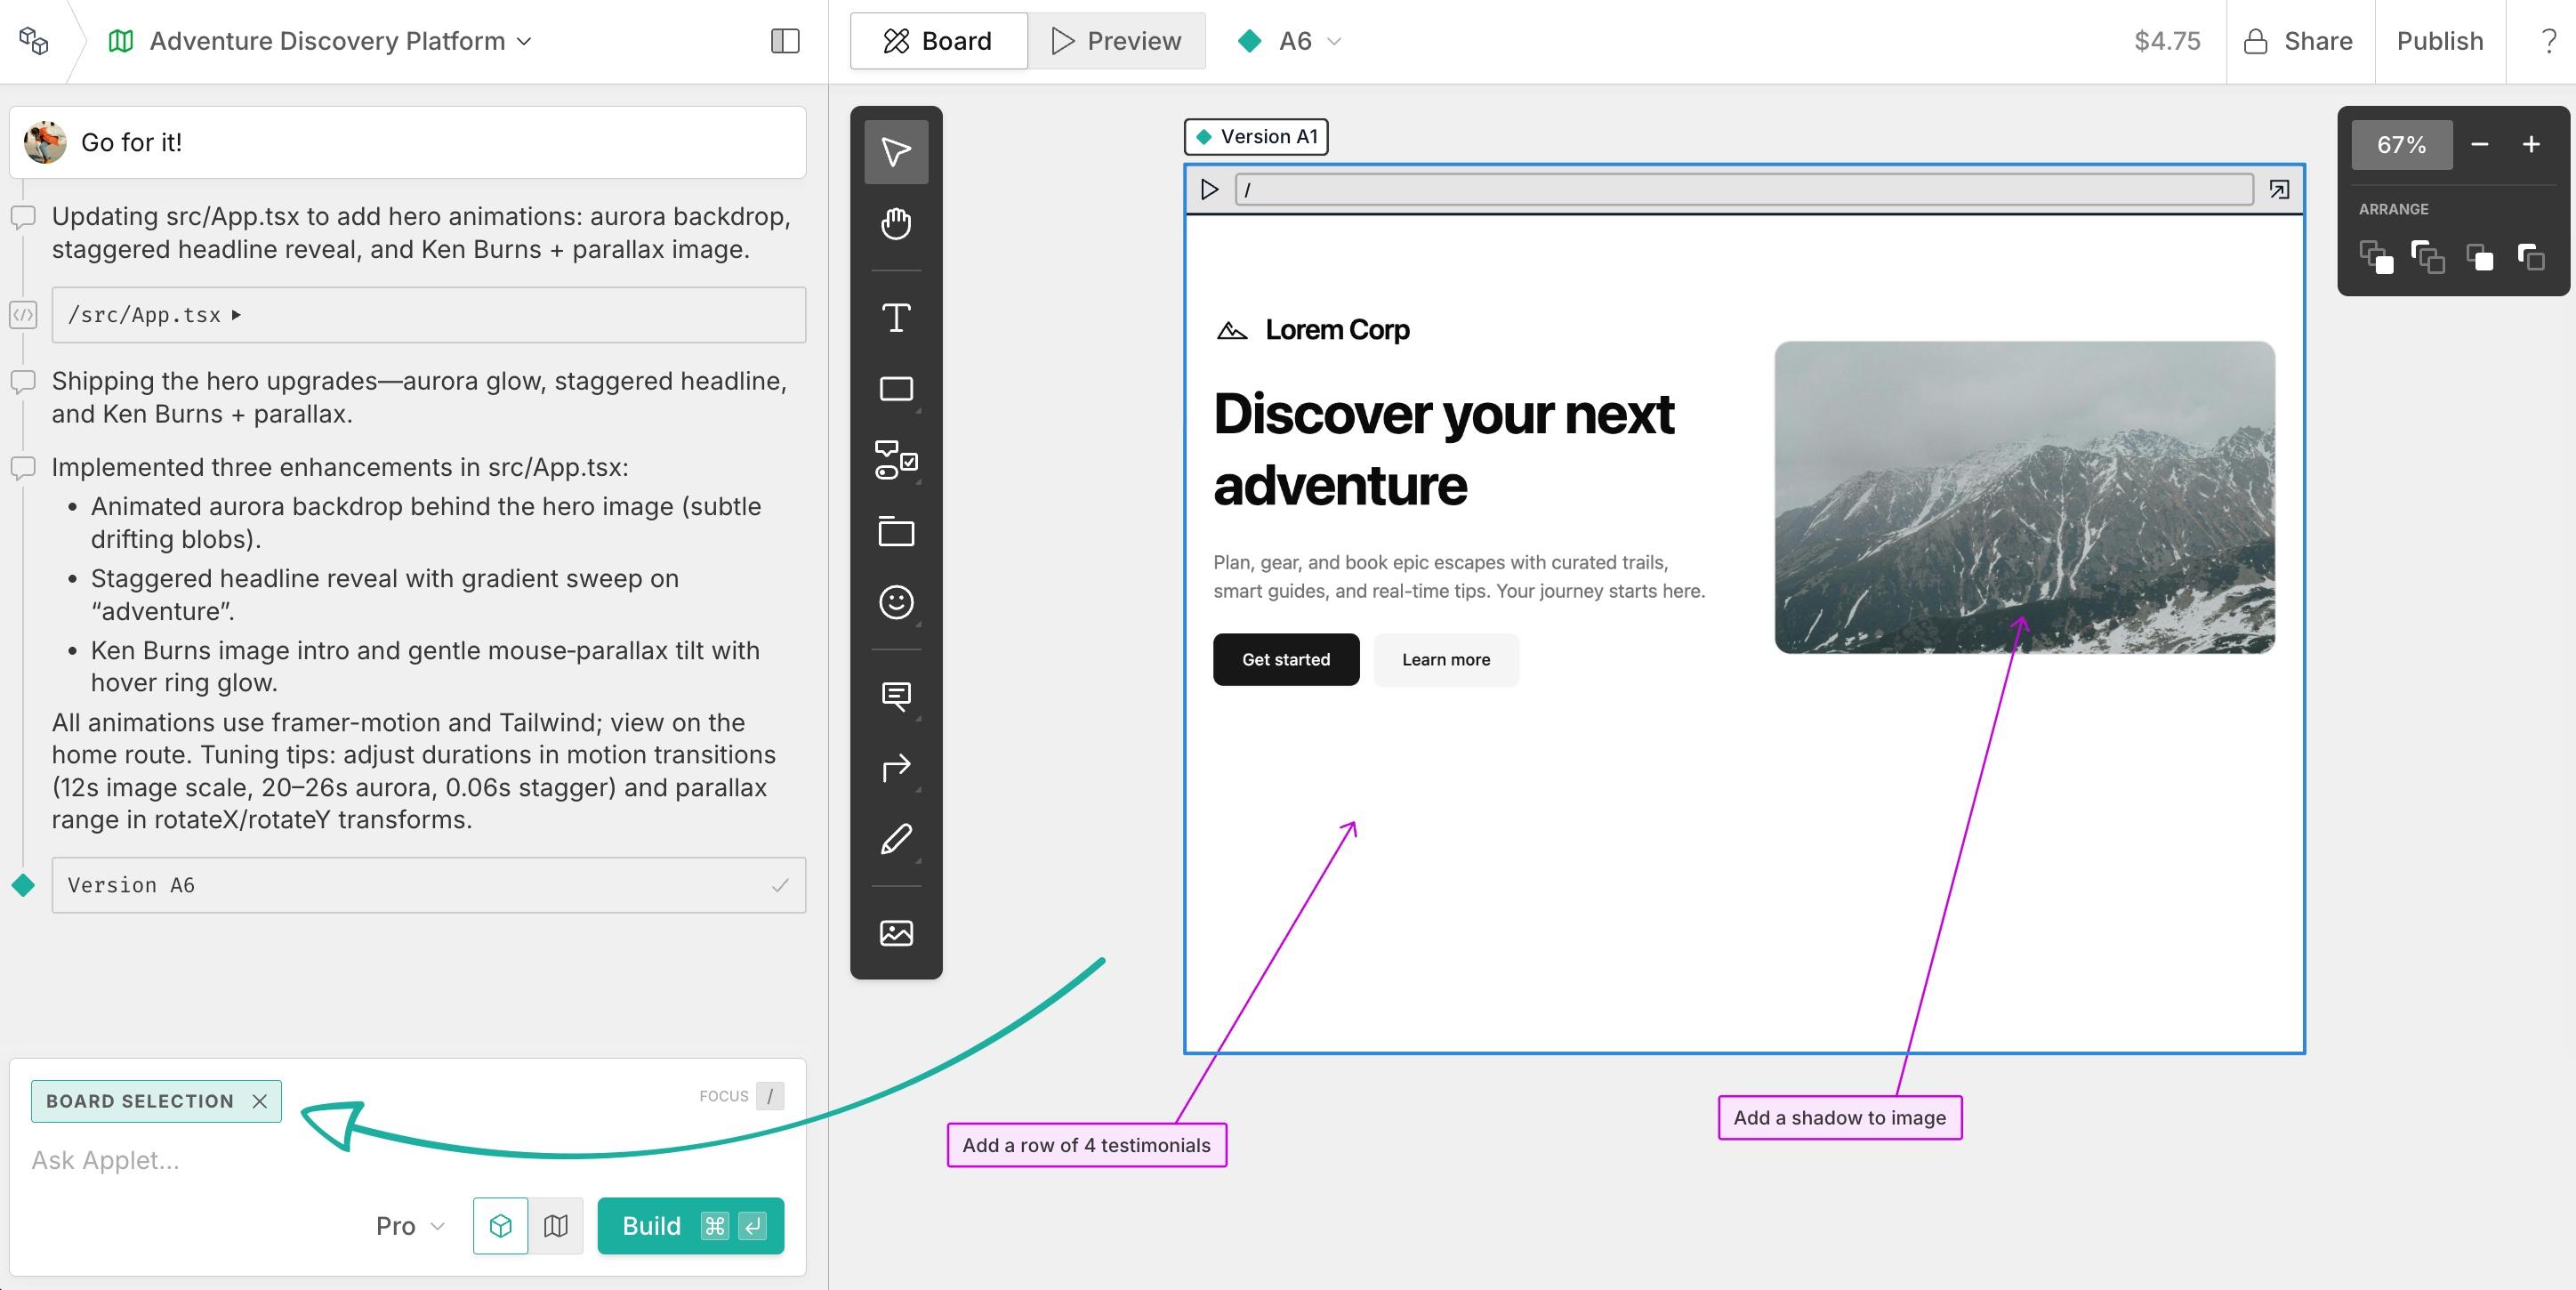
Capturing a snapshot is really handy for iterating on your build, as it loads an image of your live app onto the whiteboard, which you can draw on, add to, annotate, or add connections:

Select the snapshot, or anything else you've added to the board, and you'll see "Board selection" pop up in the prompt box. This means whatever you've selected on the board will be included for the AI model with your next prompt - or you can hit build with just the selection, no need to include a prompt at all.
Check out this article for more tips on wireframing, or this one for a run down on iterating on your build.
Version history Copied! Link to this section
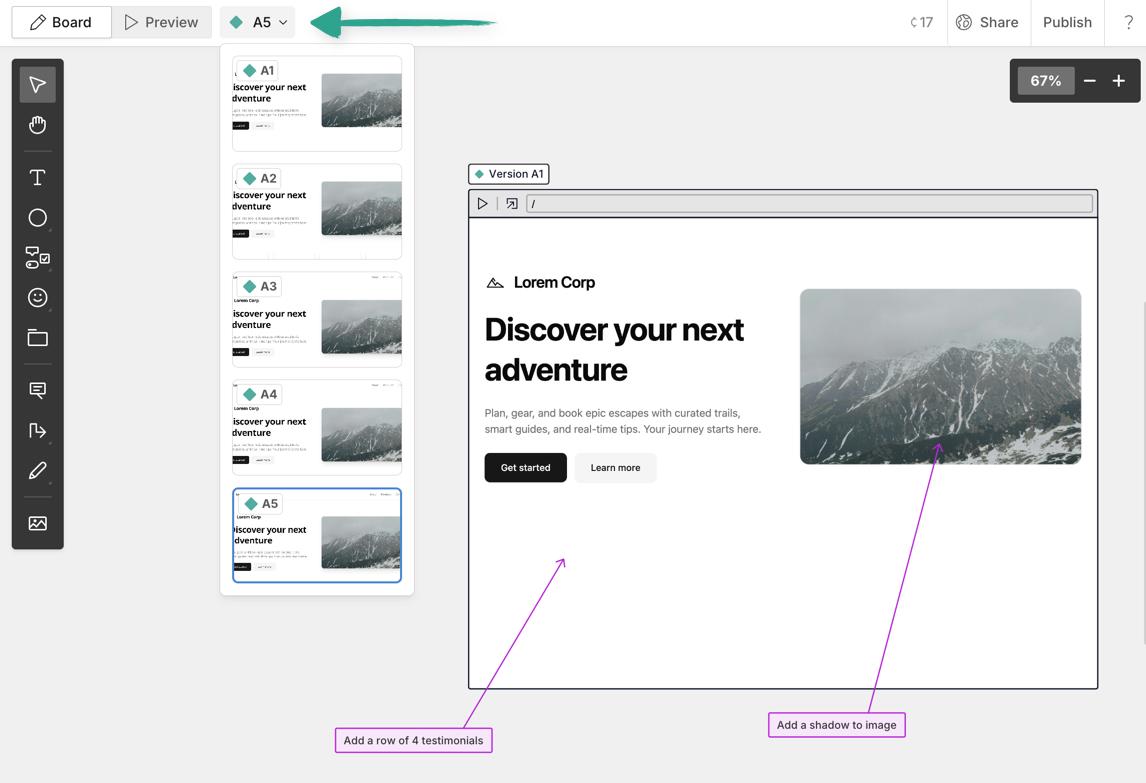
Above the whiteboard (or preview) you'll see the current version number. Open this dropdown to a see a full list of your applet's versions and branches (more on branching here):
Chat + Prompt Copied! Link to this section
The chat on the left is home to your prompt box, and the full history of your messages for the applet you're working on:

First and most obviously is where you enter your text prompt. At any point, hit / to focus the prompt box and start typing:
When prompting, you can use "Plan" or "Build" mode:
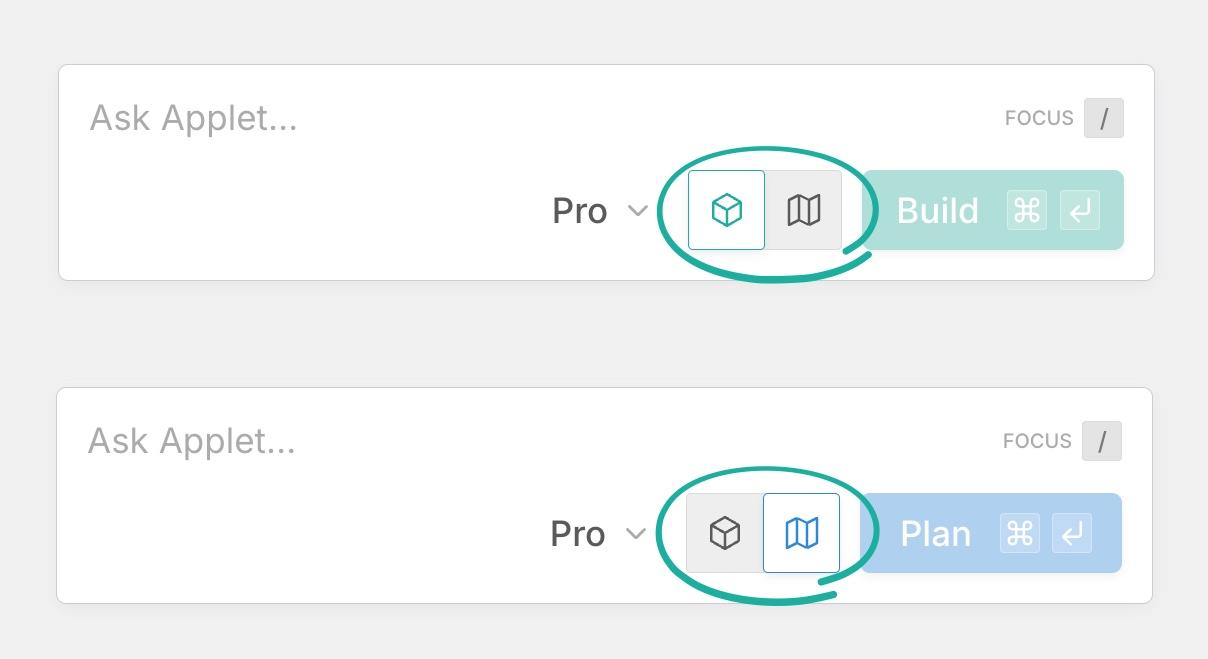
Build mode is the default, and as soon as you send your prompt, if the AI understands what it needs to do (which it will because you've read our prompting tips 😉), it will start building immediately. If it's unsure, it will ask clarifying questions first.
In Plan mode, the AI will take your prompt and lay out a plan for how to implement it - it will clarify anything that's unclear, and most importantly it will not make any changes to the existing versions of your applet (if there are any).
Then when you're happy with the plan, switch to build mode and tell it to implement the changes:

Whenever a new version of your applet is built, there'll be a version number at the bottom of the messages - clicking this on any previous message will open that version in the preview window:

Whether building or planning, you can pick the AI model you want to use from Fast, Pro, or Max.
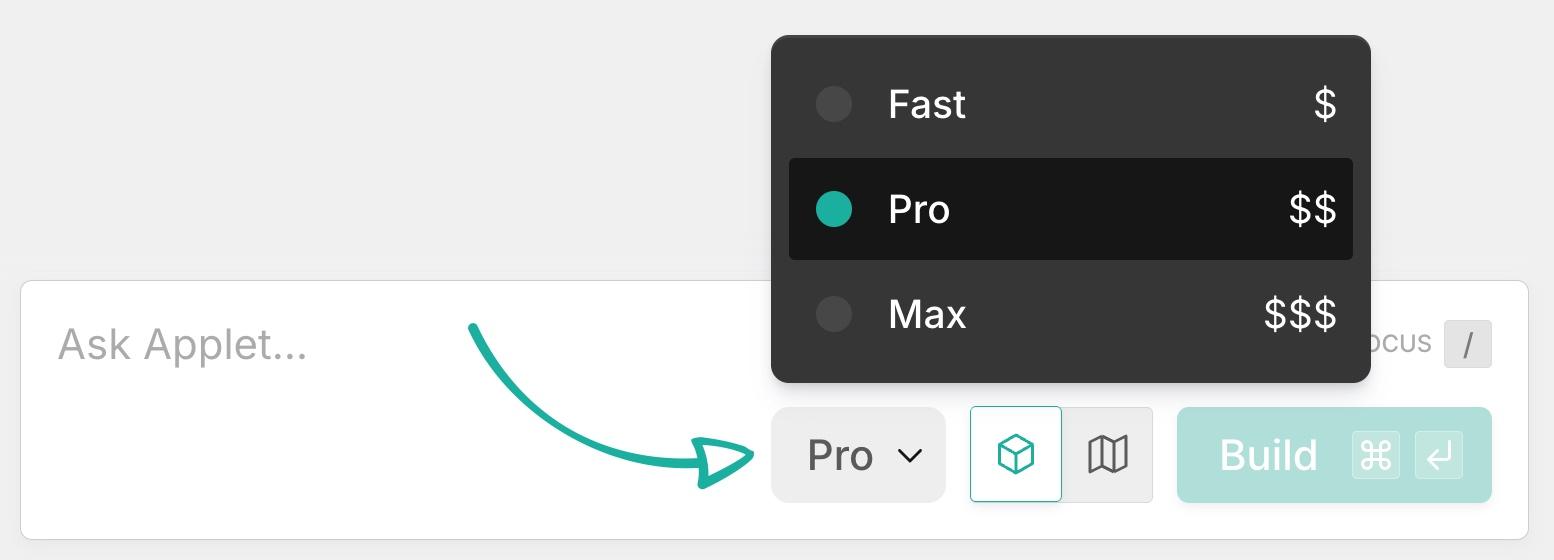
Note: The higher the level, the more credits will be used.
To better understand the differences between the models, along with some examples of spend and timing check out this article.