Iterating in Applet
While you can nail your build with a single prompt (especially if you started with a clear wireframe 😉) you'll generally want to make at least a couple of tweaks or refinements.
Applet was built to make iteration easy, with all the tools covered in this article 👇
Prompt again Copied! Link to this section
The easiest way to make small changes: simply prompt Applet again with the updates you need.
Bundle small changes Copied! Link to this section
When Applet completes a build for you, it defaults to simple layouts, basic components and clean designs. Getting creative with your styling is up to you, so it's normal that you might want to make a few visual tweaks all at once.
In these cases, try a bulleted list (just type * on a new line, then hit Space) like this:
Note: This approach is great for smaller changes, especially if they're only visual. If you need to make changes to your applet's functionality, it's better to make these one at a time.
Check out this prompting guide if you’re looking for some tips.
Something broken? Copied! Link to this section
If something is not working as you'd expect, try a two-part prompt:
- Exactly the behavior you're currently seeing (including any error messages, if you see them).
- Exactly the behavior you're looking for.
This approach makes it super clear for Applet and should get you the best results.
Use plan mode Copied! Link to this section
If it's not clear why something isn't working (e.g. something that should be visible, is not) switch to plan mode, explain what's happening, and ask Applet to troubleshoot for you:
Tip: For more troubleshooting tips, check out this article.
Capture snapshot Copied! Link to this section
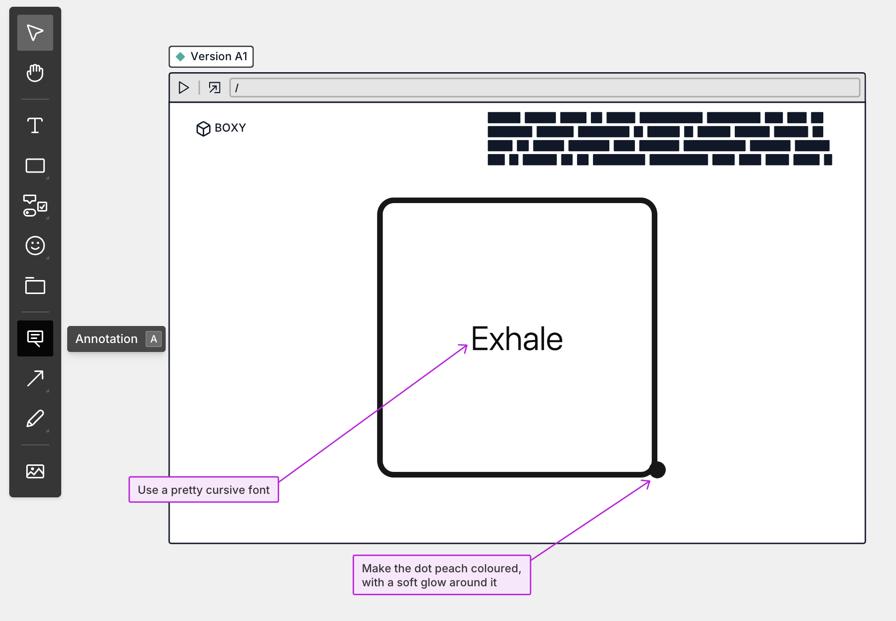
When previewing any build in Applet, you can capture a snapshot. This will produce an image of your applet in its current state and pop it on the board:

With the snapshot in place you can add annotations. This is a real power move for specific tweaks, as you can point at many different things without fear of Applet getting confused.
😅 It’s much easier than typing “the second image from the left underneath the blue button”.
We highly recommend making use of annotations.
You can also add components directly to your snapshot:

You can even capture multiple snapshots of different pages from your app - describe the changes you need and send them all together with your next prompt (or without a prompt at all).
Note: For right now, Snapshots have a couple of limitations:
- Hover states, or click-to-show elements (like dropdown menus) aren't yet supported in snapshots.
As we work on improving these, you can take your own screenshot and paste it on the board, and go from there. Annotations and other tools all work the same way 👌
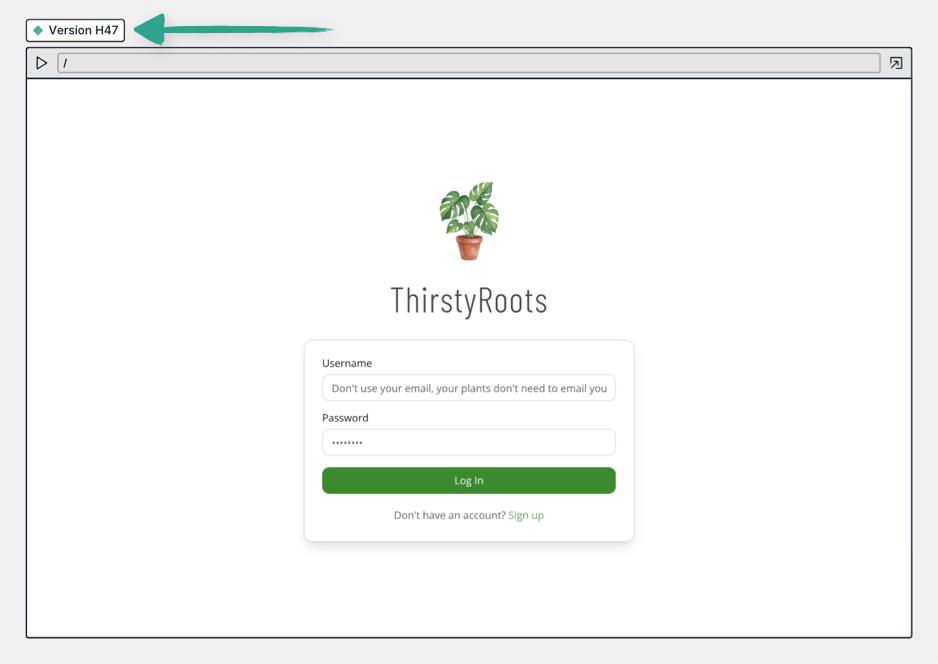
Tip: From a snapshot you can always open the specific version in preview again, just click the version name at the top:
Including board selection Copied! Link to this section
After capturing a snapshot, editing your wireframe, or drawing something entirely new on the board, just select it and you’ll see this tag in the prompt box:
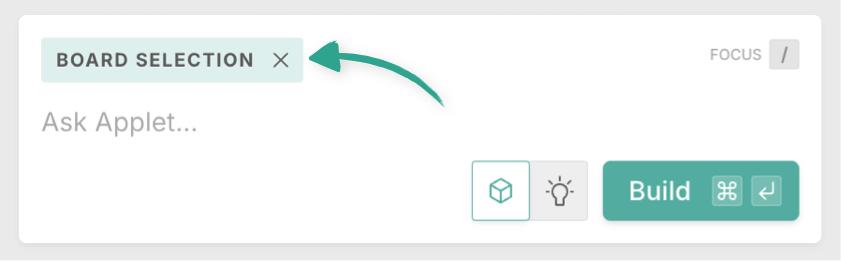
This means anything you’ve selected will be included for the AI model with your prompt (or if you’ve annotated your work, there’s no need for a prompt at all):

Tip: Selecting a snapshot, automatically includes all annotations in the selection.
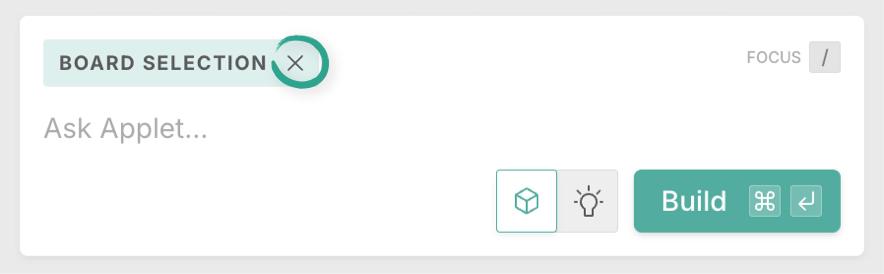
To send a prompt without including anything from your board, simply click the x next to "Board selection":
Version history Copied! Link to this section
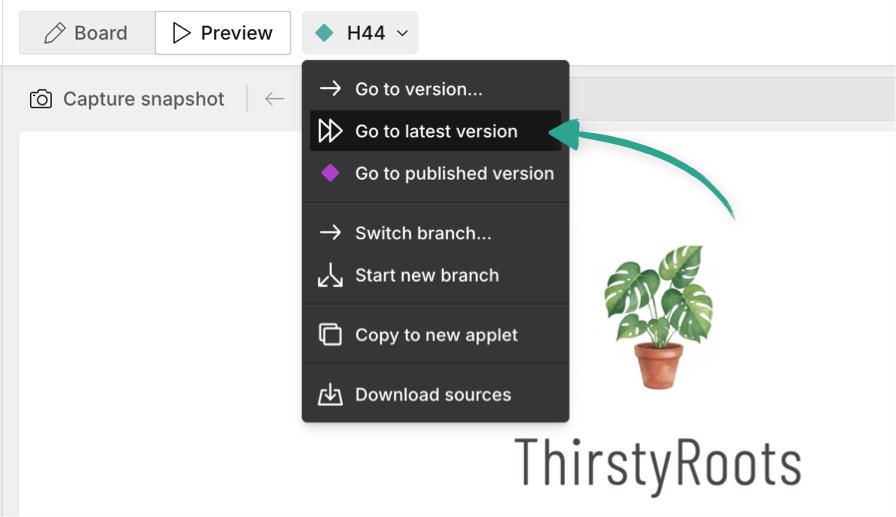
Every time you prompt Applet in build mode, a new version of your app is created - at any point you can switch between these versions with the version menu:

The version history dropdown will show all versions leading up to the current version - even those that were started on a different branch, as they are shared between any branches that started after they were created.
Or go directly to the latest version on the current branch:
As soon as you select a version you’ll see the chat history that led up to that point, and you can continue prompting from there. 👍
New branch Copied! Link to this section
If you’re looking to explore different ideas, or want to branch off from a previously built version you can start a new branch from any version of your applet. Just click “Start new branch”:
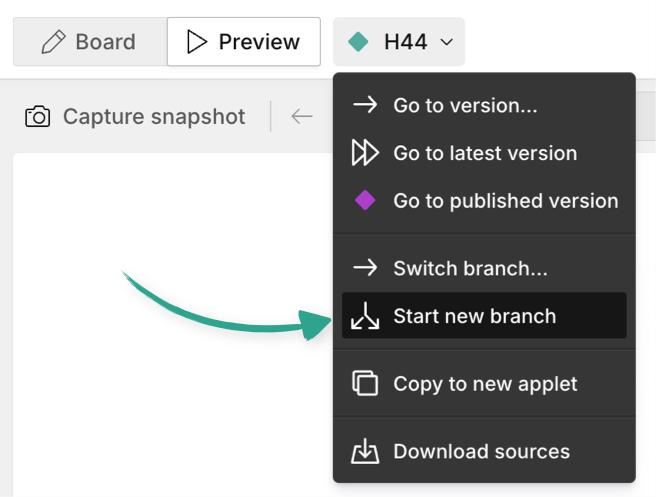
For an existing applet, this effectively resets the context with the AI model (i.e everything it knows about your applet), and lets you continue from that point onwards. You can create as many branches you like.
Each branch gets a new letter prefix before the version number, like this:
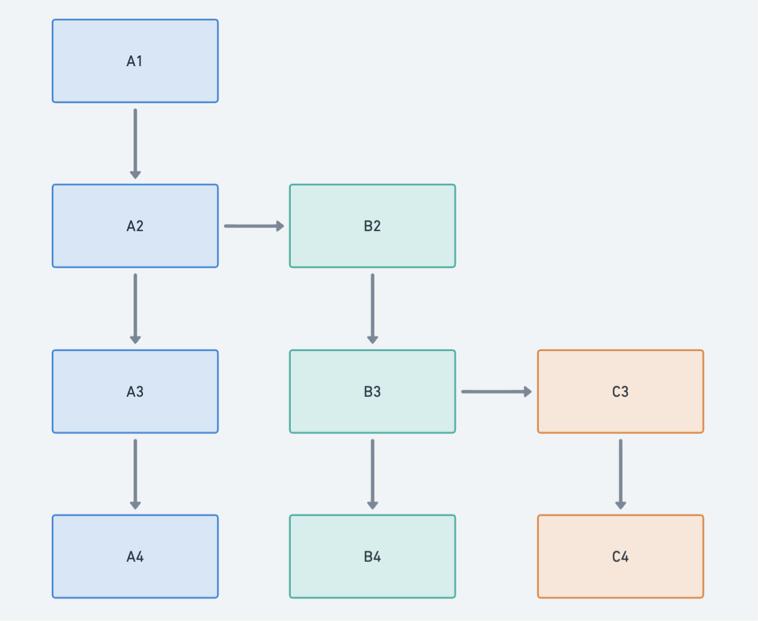
The dropdown will show you the current branch, and version you're previewing, like in this example on branch B, looking at version A1:

Sending a new prompt (with chat, or from the board) will continue with a new version add to the currently previewed branch.
Learn more about previewing your applets here.
Copy to new applet Copied! Link to this section
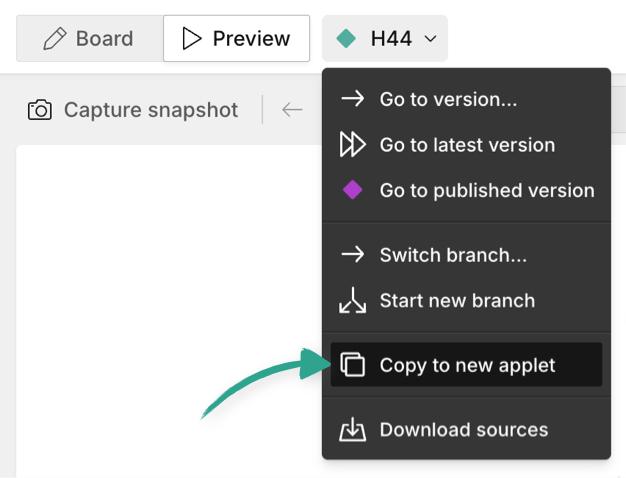
If you’d like to start fresh with a brand new applet but keep a foundation previously created - you can copy it to new applet. This is great if you’re building specific prototypes for individual clients for example, or can be useful when troubleshooting.
Go to the version you’d like to copy, and click "Copy to new applet" in the dropdown of the versions menu:
Note: When copying to a new applet, the new version will have all the code for the applet, but none of the chat context.